My First FTC ROSbot Pt. 2
Originally Posted: Oct. 31, 2022
Last Edited: Oct. 31, 2022 - 5:30 AM EST
Author: Mr. Siefen
Code Repo: https://github.com/mrSiefen/MyFirstFTCROSbot
What Can You Do Without Real Hardware?
Since writing my previous blog post something bugged me. As of the time I wrote part 1 and now this part 2 all REV expansion and control hubs are "out of stock" until the end of the competitive season. I did a really great job selling people on the idea of the project but what if you cant get all the Hardware? What if you have a budget of $0? Well a reader pointed me to the Virtual Robot Simulator project.
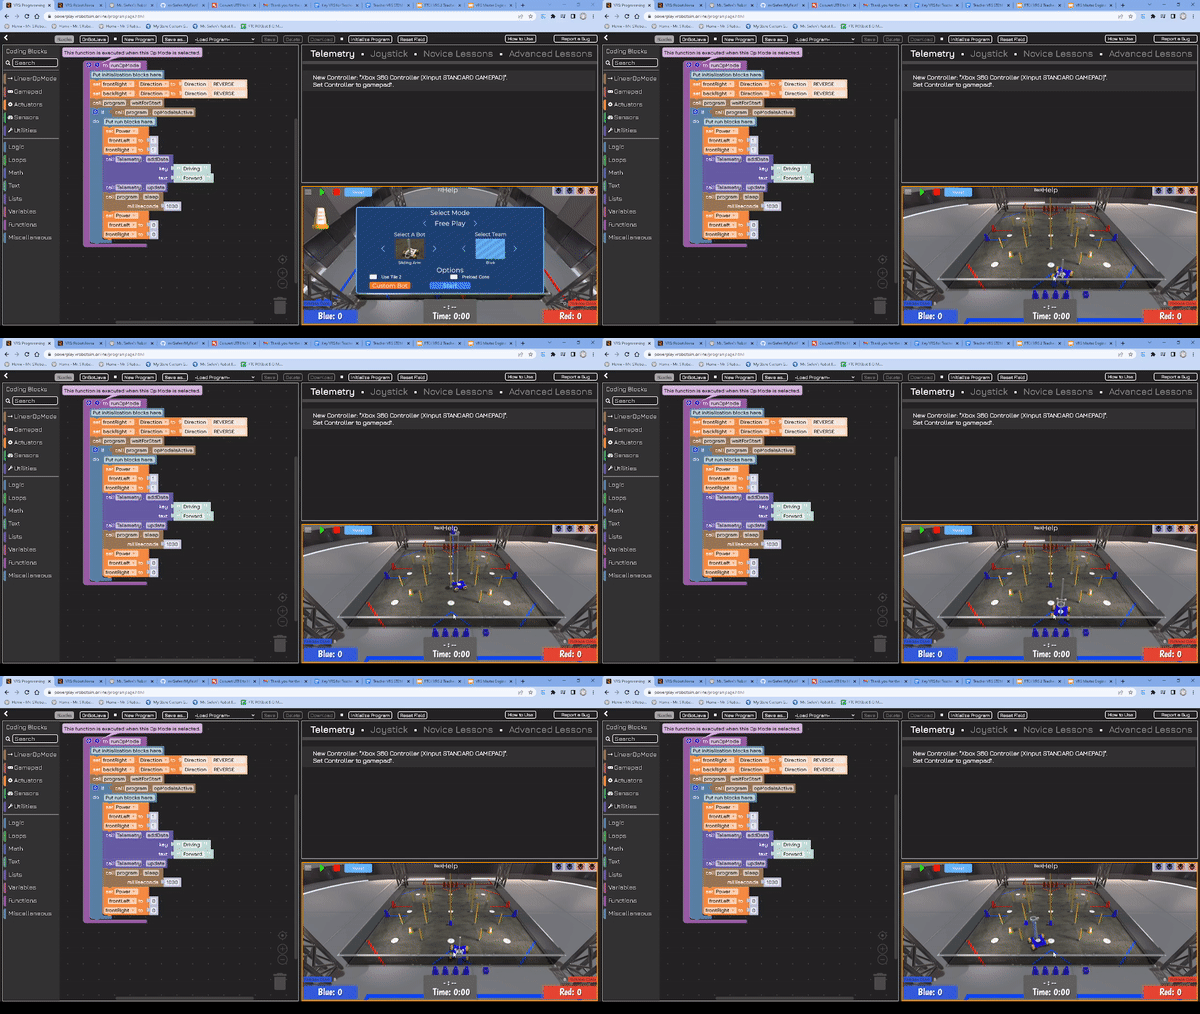
This year's Power Play (this years FTC Challenge) simulator tools come in two flavors. Before you dive into the programming section I think its best to play around with operating a bot! If you have an Xbox 360, Xbox One, Logitech F310 or some type of USB controller this will probably work. You can use that joystick to control the robots on the field.
How Do I Control the Robot?

Your controller may have slightly different controls. If you are unsure if your controller is working try checking in the portal below. With your controller plugged in press buttons and see which are indicated on screen. Check that you are getting proper readings from all Joystick Axes and Buttons.
What is the Objective of the "Power Play" Game?
F.I.R.S.T. challenges change with every year. FRC, FTC, FLL and FLL Jr. all have different specific challenges and rules with one unifying theme. This year the focus is on sustainable energy and power. This is a problem that hits close to home for me living about 20 minutes from the heart of The Motor City (Detroit).
How can we keep up with an increasing energy draw as our population increases? What are we gonna do as we run out of non-renewable resources? How can robotics and automation fix these problems? F.I.R.S.T. want's to teach kids k-12 how to solve that problem and any others they will come across.
General rules and a general game explanation is located below
A one pager is available here for more specific details. For full rules and more season materials please visit firstinspires.org's page. While the FTCROSbot isn't intended to solve this game problem specifically it's good to know the rules. I DO intend to follow all design constraint rules and other FTC rules for motors, custom electronics (where possible) and etc.
How can I Change the Programs on the Robots?
Once you feel you've really gotten a good handle on how to control the robot in Tele-op mode we should look at the programming tools. FTC bots run two different Op modes; Autonomous and Tele-op. Autonomous only runs during the very beginning of a match for 30 seconds. Robots must act completely on their own.
Tele-op is the longest period of the match, at a full 2 minutes, where your driver can show off their skills. Driver's and Operators work together to control the robot with an alliance partner robot. Good controls, controller layouts and HANDS ON time can make all the difference between a good robot and a paperweight at match time.
Since this blog has a large emphasis on programming I want to explore the autonomous section first. When you first open the VRS Programing Page you will be given a tutorial of how to run a basic autonomous op mode. By default code is shown in code blocks format. You can always switch to see the real java at any time by hitting the OnBotJava button on the top-left part of the screen.
My First FTC Bot Autonomous Program
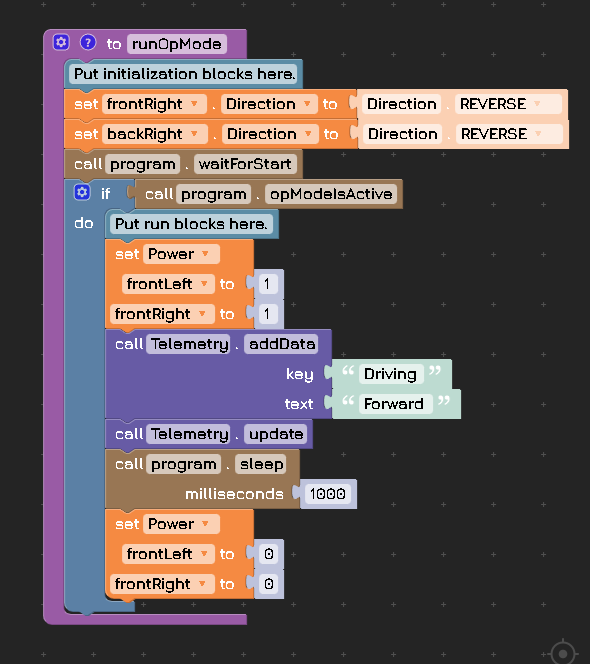
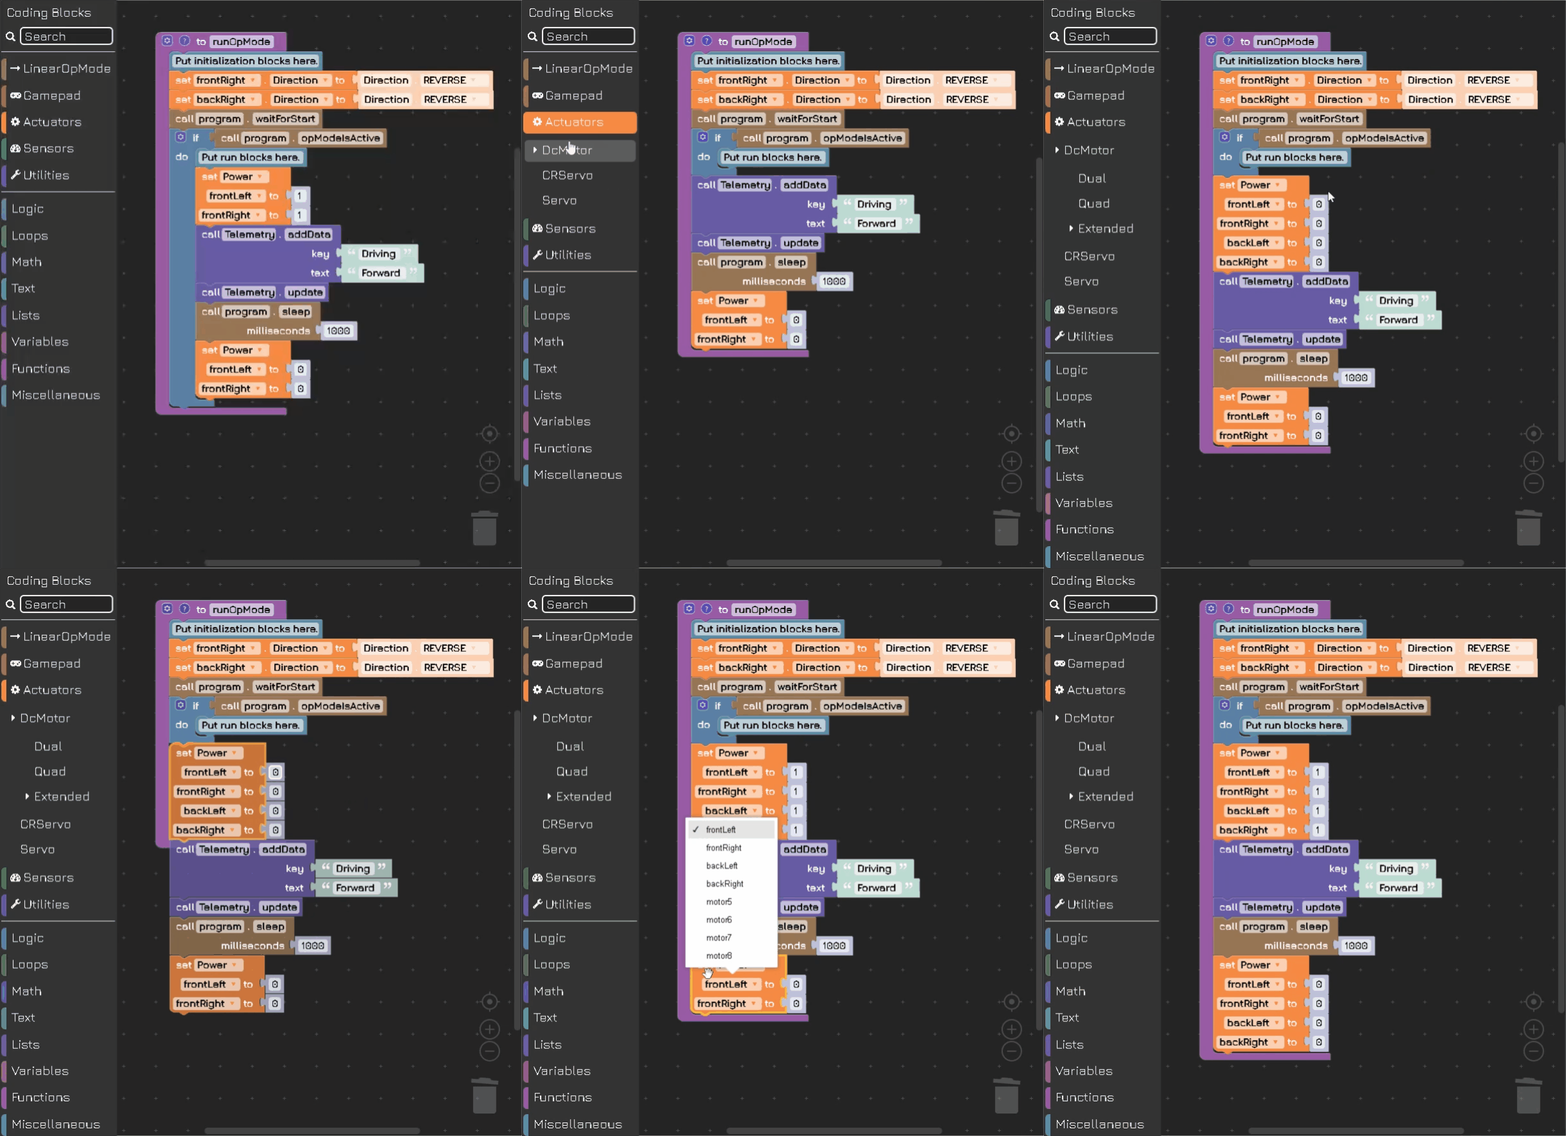
The default code will drive the robot forwards for one second and then stop. There's a couple issues with the code (but I think it was done for readability). If you notice in the code shown in the picture below it only applies power to 2 of our 4 motors.
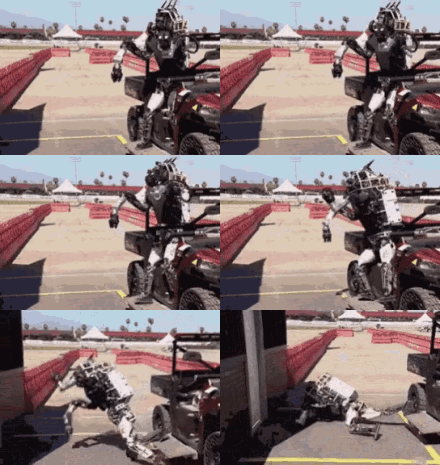
This is an easy problem to fix. See how to drag and drop the appropriate blocks by watching the gif below. I drag out the block to replace, re-drag my blocks i want to keep, and then add the new blocks in place. This quick edit demonstrates how easy it can be to work with the FTC hardware with no programming experience at all!
What are Those Weird Looking Wheels on the Robot?
Why does it matter that two wheels weren't being driven? If you noticed while tele-op controlling the robot it could strafe this is normal. The robots in the simulator use wheels called Mecanum. Mecanum wheels like omni wheels allow robots to move holonomically.
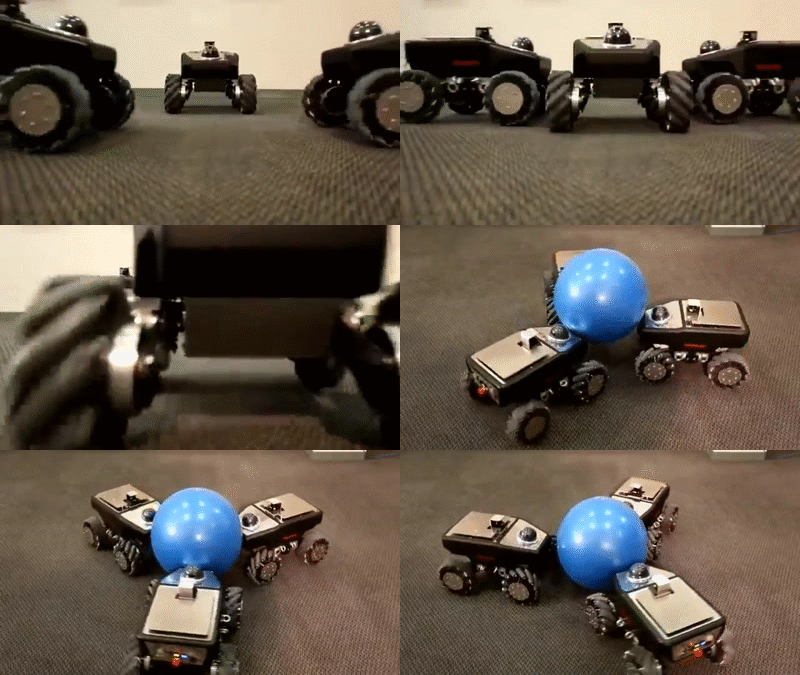
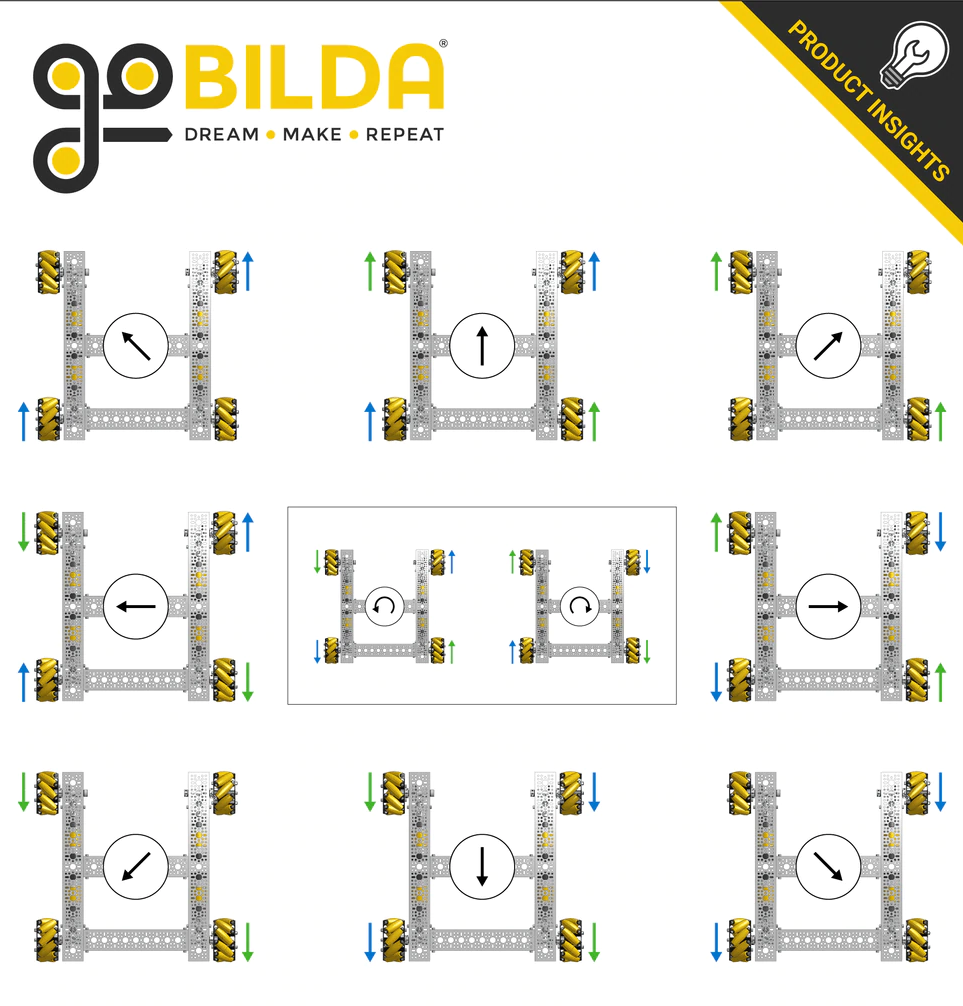
In order to achieve this really cool movement we need to control all 4 motors! It's hard to tell from the gif and from watching the robot in the simulator, but all 4 wheels are independently controlled. This matters because the wheels need to spin in different directions, to strafe horizontally or diagonally, than you might expect. Look at the chart below to see what direction wheels need to spin to achieve each direction of movement.
Let's Create a Function!
Functions (sometimes called methods depending on the programming language) are blocks of code you can call from elsewhere in the program. Useful functions should be code you will run multiple times of that can be slightly changed with the same base "function"ality. Our first function will be to control Y axis movement (forwards and backwards) with a timed movement. Watch the process below for creating functions of your own (I'm starting from the 4 motor code we made earlier)!
Our function takes two inputs (also called arguments) that control the power for all of our motors and the time to run them for. This means now we do NOT have to have the really long chunks of code we had originally whenever we want to repeat any movement in the Y axis. We can also use this to go forwards or backwards by using a negative or positive power value. The time variable is in milliseconds NOT seconds.
Make All the Functions!
Functions are the key to readable block code. They are also the key to long term efficiently creating new programs. We have 12 possible vectors for a mecanum robot, but I bet if we think ahead we can control all of them in 3 more functions! Any guesses as to how we can do this? I don't have any prizes if you guessed correctly that we will combine some of our vectors if they control the same motors with flipped power.
If you have any issues there is a code block you can paste over the OnBotJava to get all of the functions. DO NOT CHEAT YOURSELF BY JUST COPY PASTA CODING. You learn nothing without working those brain muscles and more importantly the physical memory of dragging blocks around or typing code.
The best way to get better at anything is to do it alot. So I'm not going to explain much in detail here but watch all 3 next Gifs. They each show how to make the next 3 functions. driveX(power, time), turnInPlace(power, time), driveDiag(dirNWSE, power, time) are those functions. I've written the inputs (arguments) in parenthetical form which is how the functions would look in text form when being called.
Making the DriveX Function (currently wrong, you need to multiply frontLeft and rearRight power x -1, github code fixes this and gif will be fixed soon!)
Steps are shown in the Gif below!
Making the TurnInPlace Function
Steps are shown in the Gif below!
Making the DriveDiag Function
Steps are shown in the Gif below!
What Can I Do with these Functions?
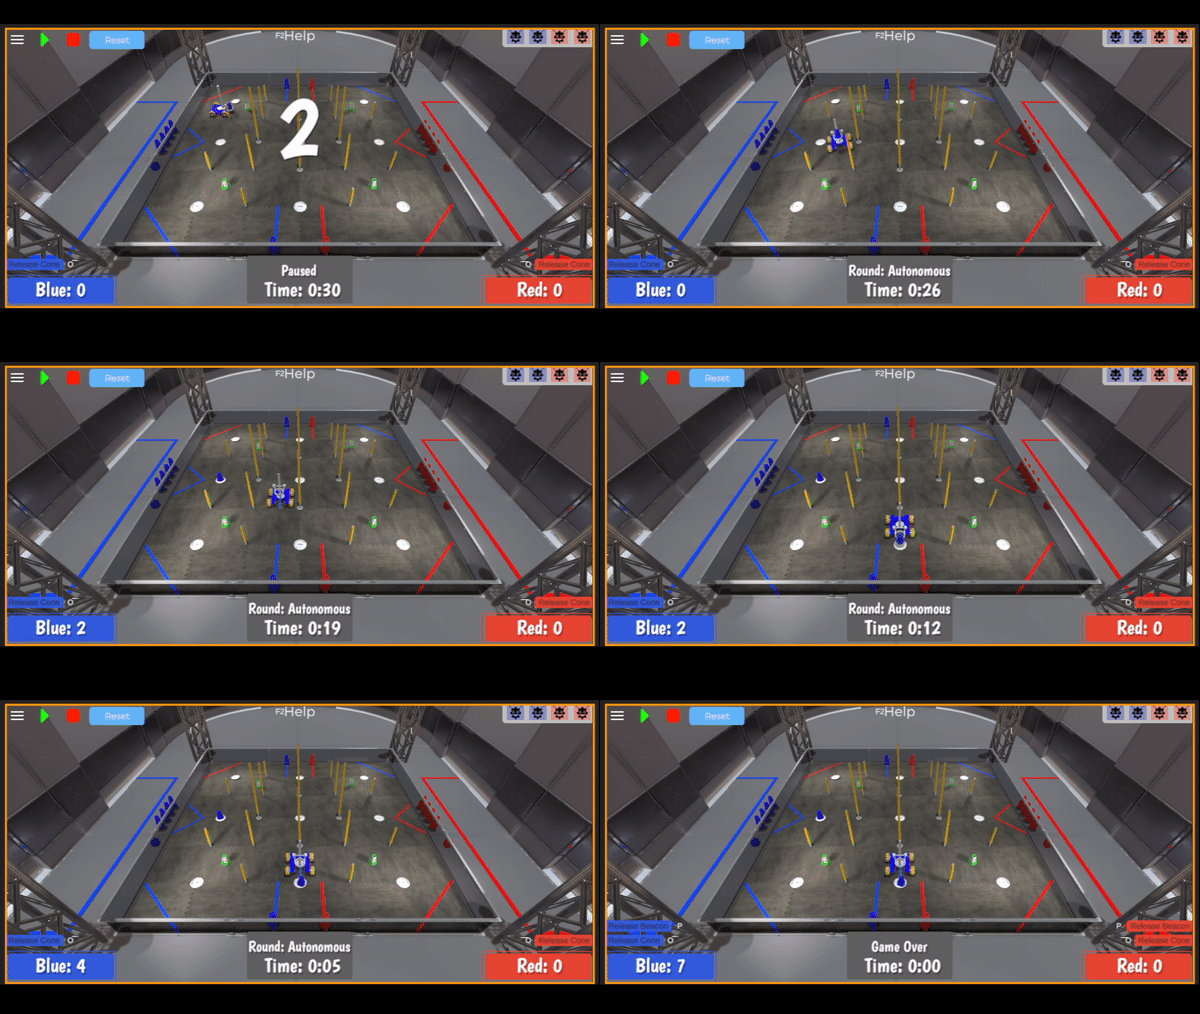
As you can see I "called" only the driveY function in my runOpMode block. You can call any of the created functions at will from the functions menu. All code runs in a top down order so you can sequence these functions to do "dead reckoning". You can accomplish alot with these simple little timed functions.

If you have made it this far congrats! You are a certified robot programmer for one of the more complex drivetrain out there. You learned about functions, inputs and opModes. Best of all you can do this whenever and where ever you want for FREE in the simulation tools!
If you had any issues as I promised I have my entire finished .blk file posted on my Github repository. You can copy and paste this over ALL of the existing OnBotJava code. This will replace the default or broken code with a working copy with all functions defined as we expect them to be. Stay tuned for part 3 to learn more about setting up your ROS ubuntu image on a Jetson Nano!


